Photo credit: Natalie the Nerd
Natalie the Nerd has spent years reverse engineering old Game Boy motherboards and mapping them out onto detailed schematics. When Nintendo and LEGO released their $59 display set—a brick built Game Boy—she saw more than just a shelf ornament.
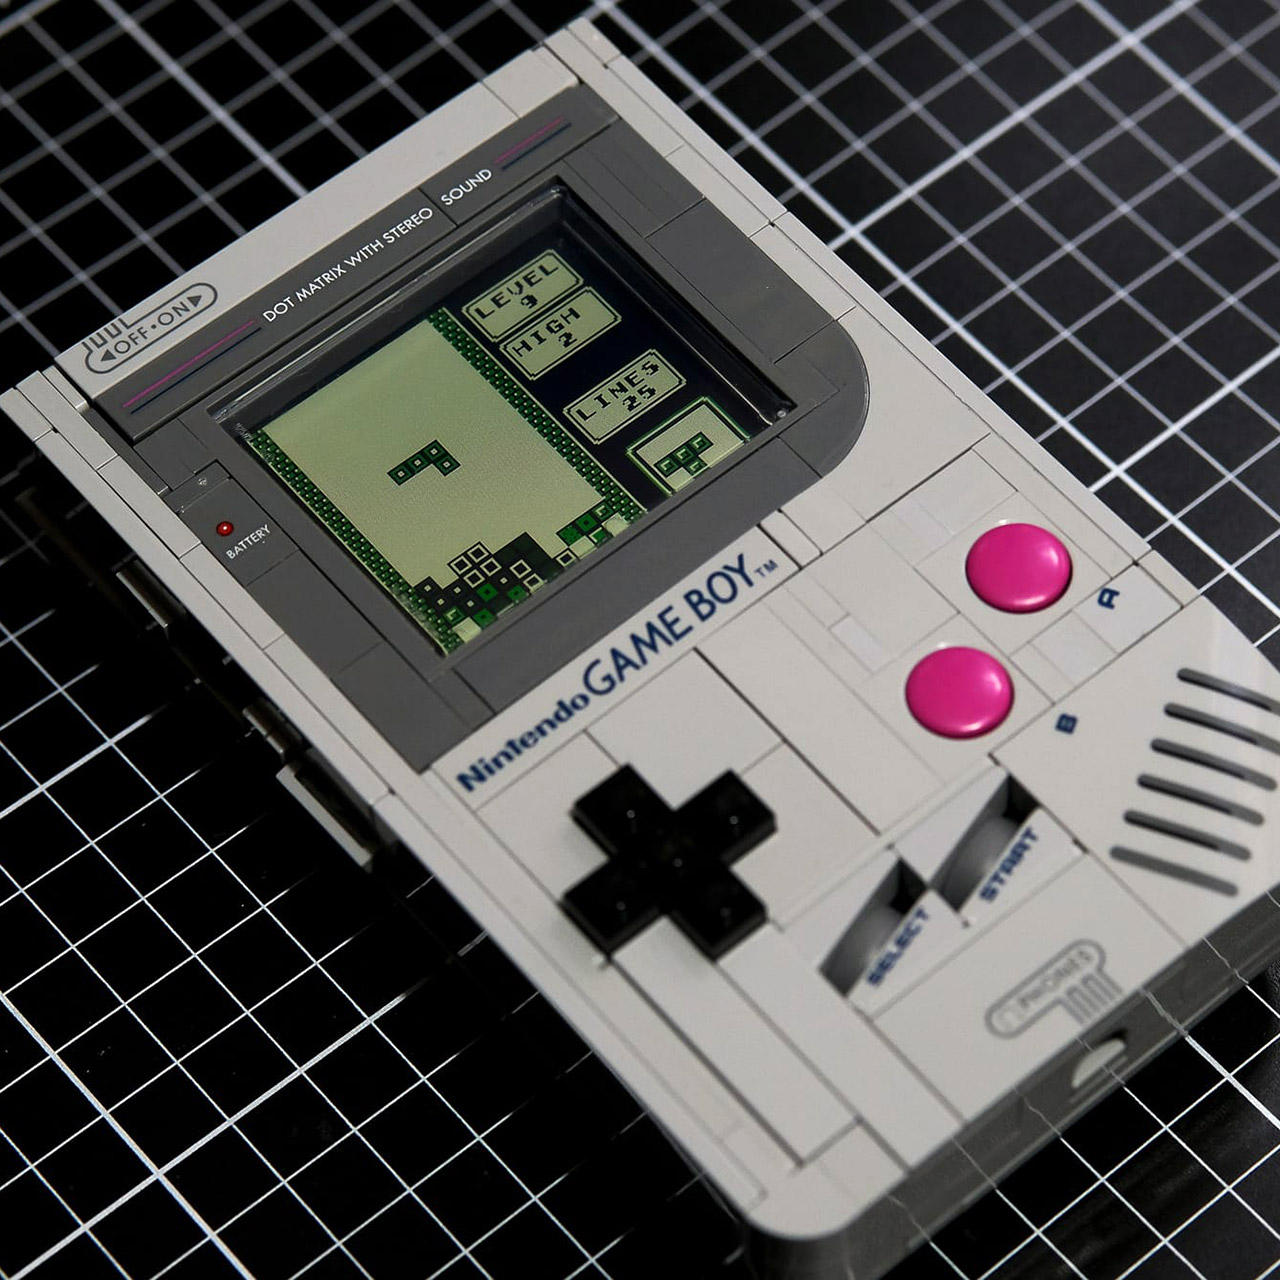
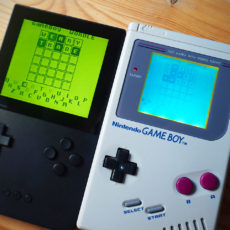
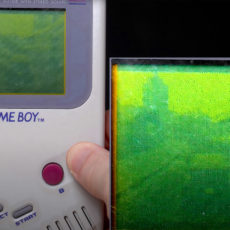
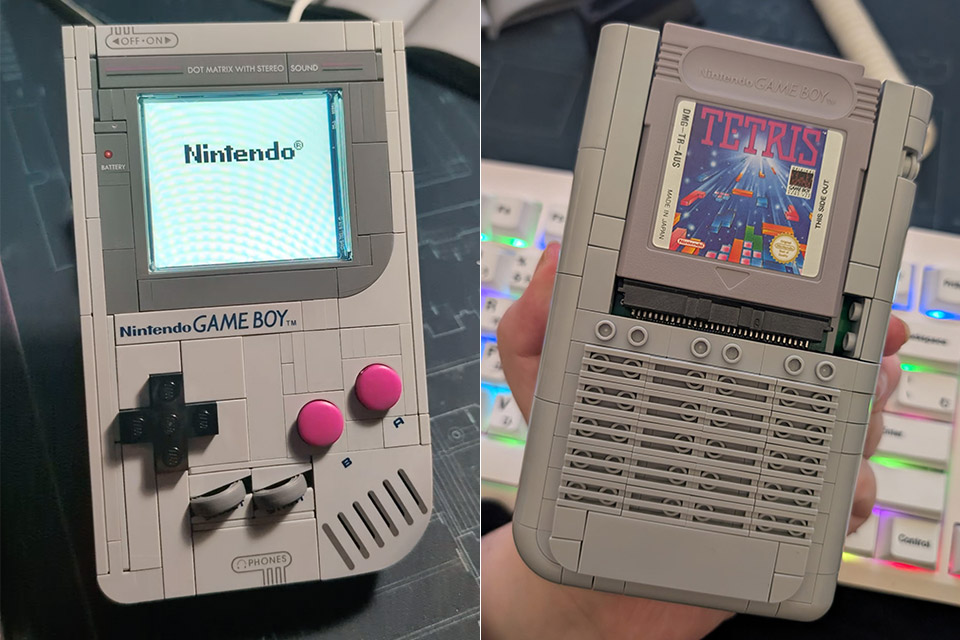
The LEGO Game Boy arrived in stores as a faithful replica in scale, down to the green tinted display made from lenticular cards that mimic the original’s pixelated glow. The buttons press with a satisfying click but go nowhere. A dummy cartridge bay sits empty begging for purpose.

LEGO Super Mario Game Boy - Retro Building Sets for Adults, Ages 18+ - Collectible Model with Game Paks...
- BUILD AN ICON – Build the ultimate retro gaming display with the LEGO Game Boy (72046) model kit for adults ages 18 and up
- RELIVE THE EXCITEMENT – Remember powering up your Game Boy for the first time? Experience the thrill again with this authentic of the handheld...
- DISCOVER AUTHENTIC DETAILS – The instantly-recognizable Game Boy features classic button layout, contrast dial, and interchangeable Game Pak and...
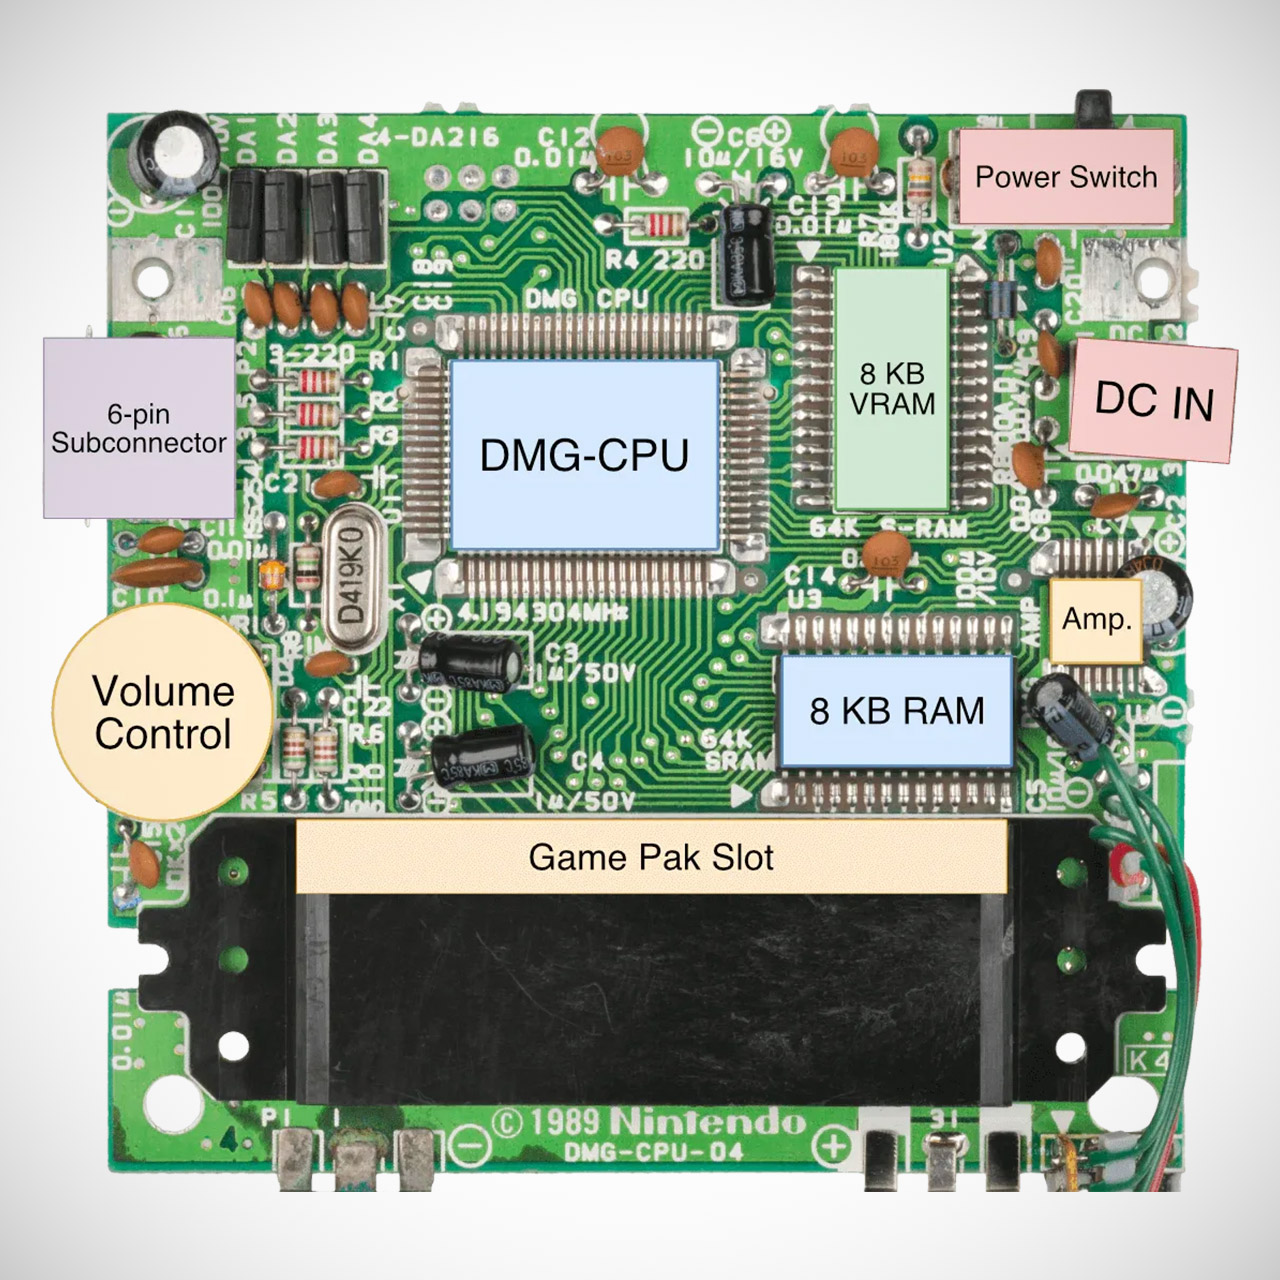
She started with measurements from press photos, scaling images on her computer to fit the brick enclosure. Space is everything here; those chunky LEGO walls leave no room for error. Drawing from her deep knowledge of the hardware (gleaned from routing countless custom boards) Natalie kept it simple. At the center is the MGB CPU, the chip that powered the Game Boy Pocket from 1996. Why not the original DMG from the ‘89 launch? The MGB has video RAM inside the processor, no need for the extra external chip the older model requires. That saves precious millimeters, fits neatly into a case where every gap counts. She paired it with basic RAM for memory, decoupling capacitors to smooth out electrical hiccups and a simple power setup from her Safer Charger designs.
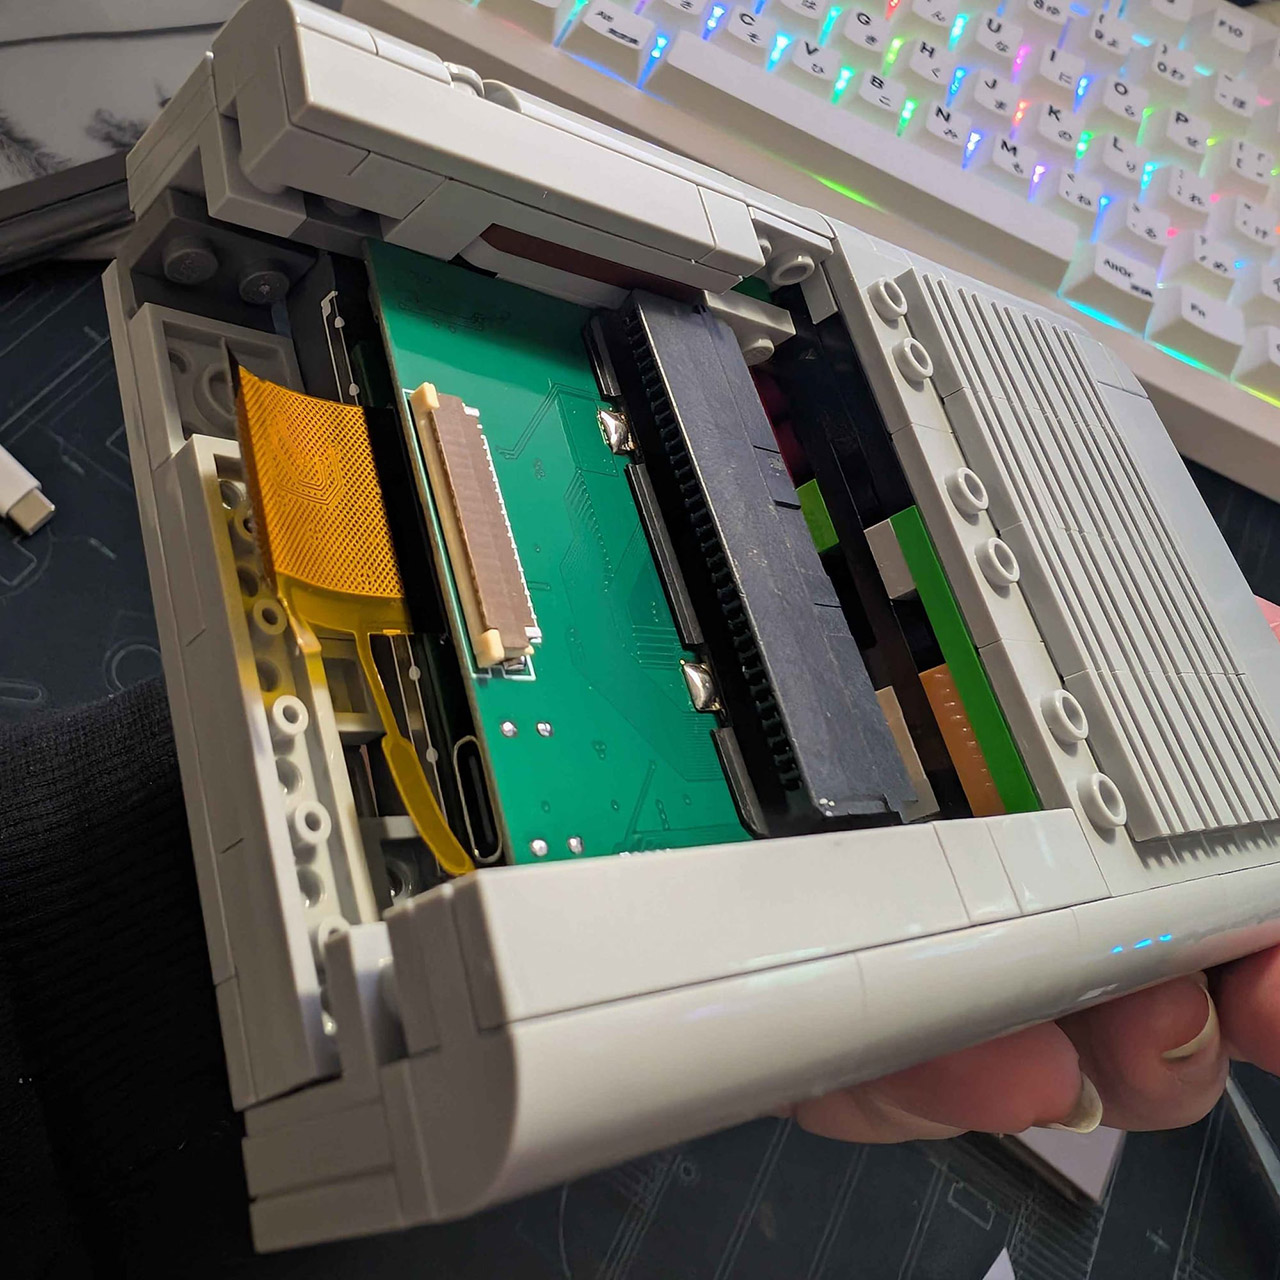
Power enters through a USB-C port which is connected to 3D printed adapters styled like LEGO studs for a secure fit. The buttons, the stiff plastic nubs on the LEGO frame, connect directly to a matrix that sends signals to the CPU—just like the real thing. Audio pins are waiting for speakers but she hasn’t yet explained how they will be connected. The back panel which was previously just a holder for a fake cartridge now has a real slot.
No black belt soldering skills required; just steady hands, a few tools and patience. Start with the LEGO kit, before printing the custom buttons and port adapters, or buying them if Natalie releases the files. Etch or order the PCB and populate it with off the shelf components: the CPU is about the same price as a vintage cartridge. Solder the connections, put the board in the frame that used to hold the fake screen, and put the cartridge bay in place. Power it up, put in a game and watch blocks fall in Tetris, the irony is peak as digital bricks fall into a physical one.
[Source]