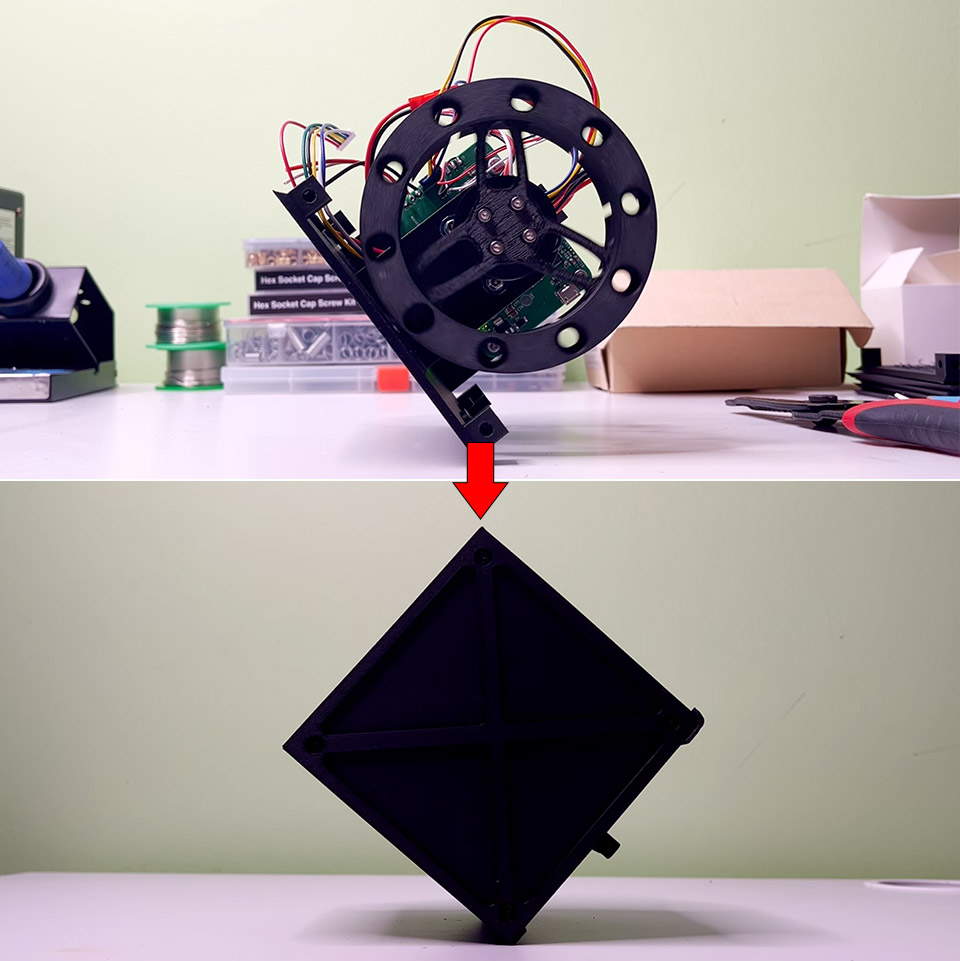
You already know how a cube is supposed to behave. Toss one onto a table and it tumbles, bounces, and settles on a face. That expectation is the reason this build exists. A maker who posts as The Tinkering Techie spent a few weeks packing motors, a reaction wheel, and a spring piston into a five inch black cube so it could do the opposite. It sits on a small foot, fires that foot, flies, rights itself in the air, and comes down on an edge, then it stays there.
All of its moving parts are hidden inside a 5-inch box that is practically unmarked. One side has a small foot on it. Another motor turns a spring-loaded piston back into the box. When you pop the piston back in, the small foot slams down on the table with enough energy to send the entire thing flying. Originally, the launcher parts were too flimsy for the purpose, but swapping to stainless steel rods and a sector gear solved the problem. After an early try using perf board, custom circuit boards from PCBWay, 3D printed parts, and some CNC cutting were necessary to get everything started.

- BUILD, CODE & DRIVE YOUR OWN ROBOT CAR: Turn coding, electronics and engineering into a working programmable robot car you can assemble, program and...
- EXPLORE FPV, LINE TRACKING & OBSTACLE AVOIDANCE: Control the robot with the ELEGOO app or IR remote, view live FPV video through the onboard camera...
- BEGINNER-FRIENDLY BUILD WITH GUIDED WIRING: Keyed XH2.54 connectors help reduce wiring mistakes, while the illustrated tutorial and example programs...
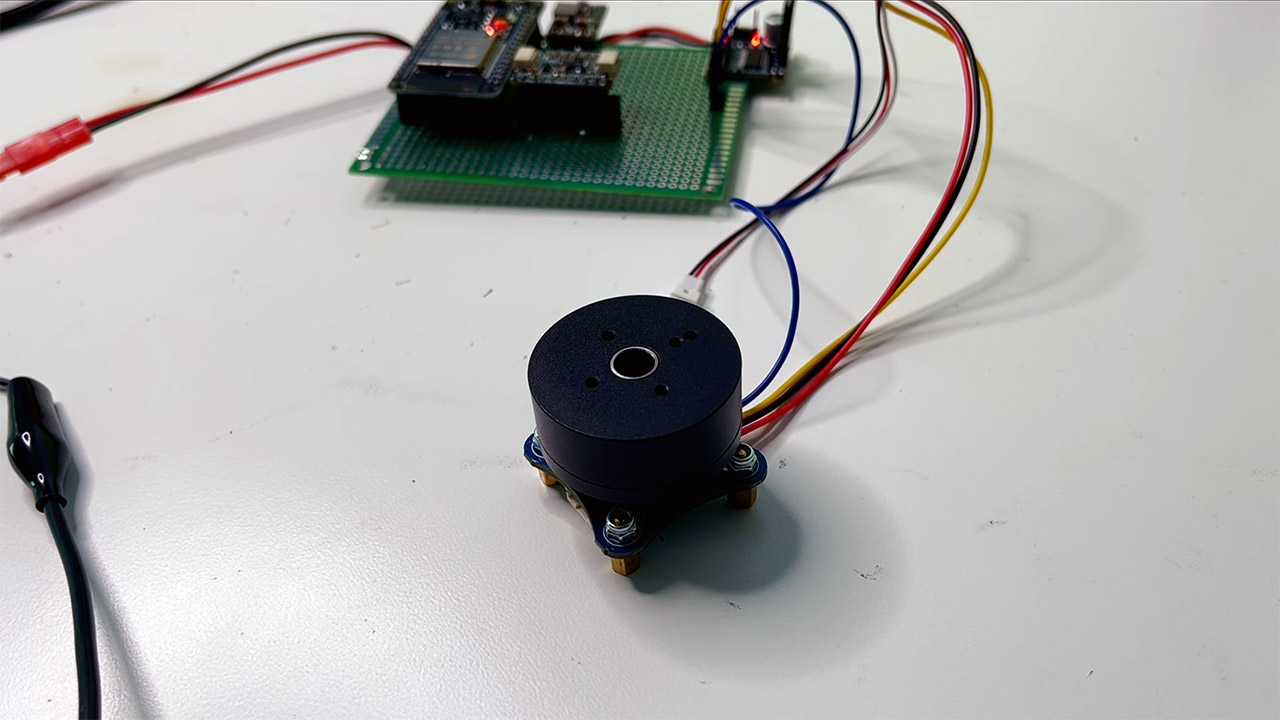
A brushless motor inside the shell spins a reaction wheel. That wheel does not actually press against anything because the entire force is in the rotation. Change its speed, and the cube body will twist instantaneously; in flight, this wheel also aids in turning the cube so that the chosen edge is always facing downward. When it strikes the ground, the wheel just keeps rolling, preventing the box from bouncing onto a face. The IMU monitors the cube’s tilt and motion using a gyroscope and an accelerometer. Early software only trusted the gyro for 30 milliseconds after impact, which was just insufficient. Increasing that window to a full second gives the controller just enough time to ride off the bounce and maintain the edge level.
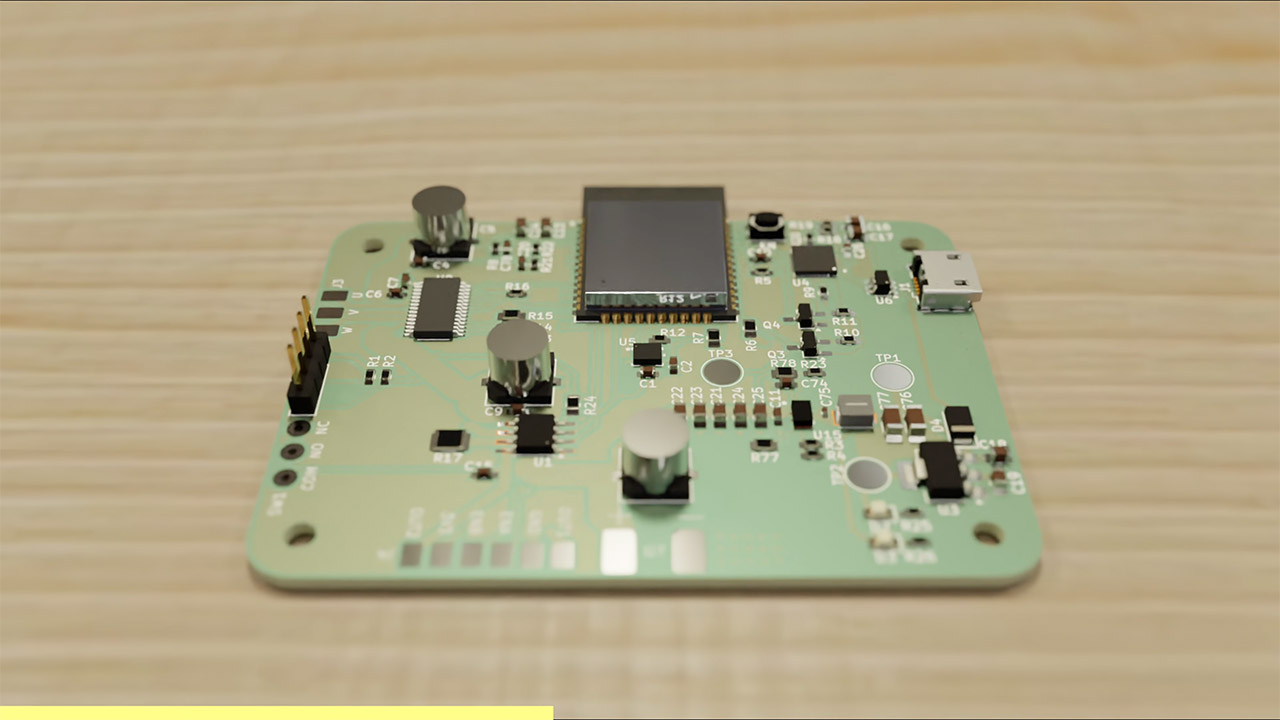
The control system is housed on a custom PCB designed around an ESP32, and the SimpleFOC firmware that runs on it performs well in operating the brushless motor with the precision required for a balancing act like this. A lithium cell provides power and feeds the motors. At the moment, the cube is programd to always land on the same edge, but the same hardware should be able to target any of the three other parallel edges. However, getting the corners to balance will be a very separate challenge.
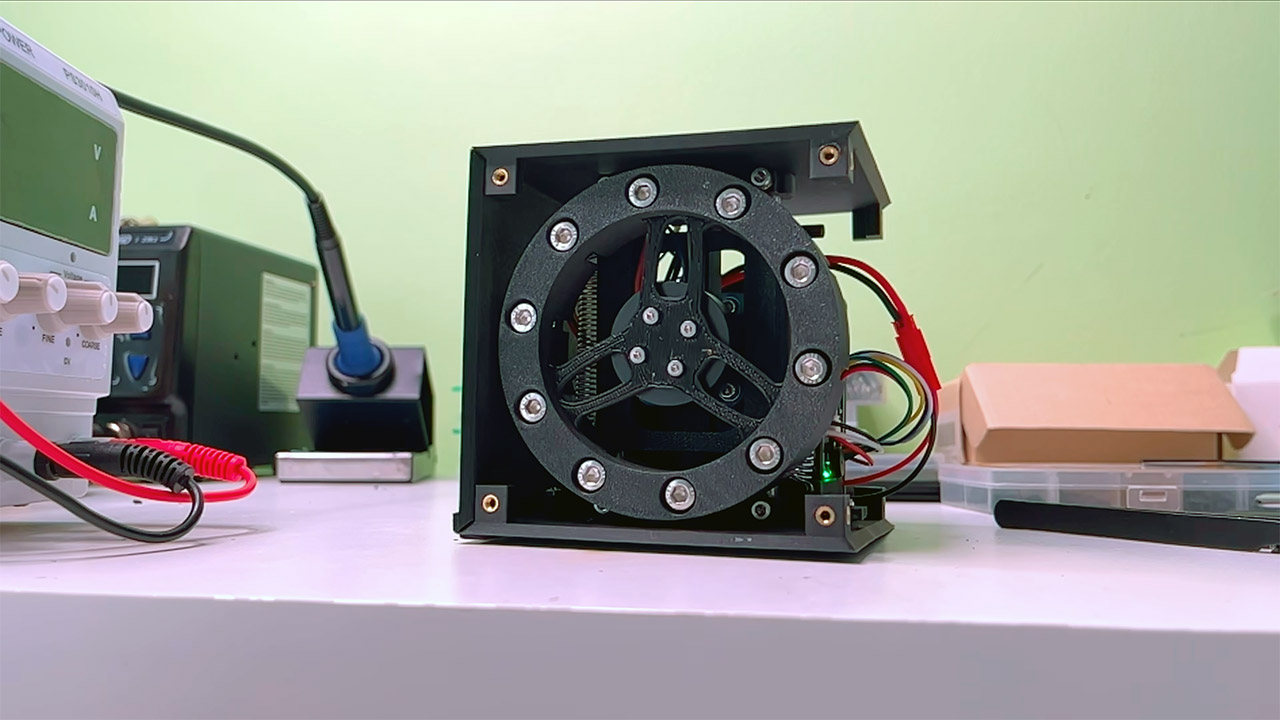
Building this thing was meant to take two weeks, but it took closer to three and a half. The guides continued to flex, the piston bent, and landing balance was only achieved when sensor timing and mechanical stiffness caught up. When you watch the completed cube, everything seems to happen near effortlessly. The foot fires, the cube flies up, stabilizes itself, hits the table, and then holds firm, since your brain still expects a face to hit first, which is probably why the box is painted to resemble a blank black dice.
[Source]